Matching DIY Cord Bracelets
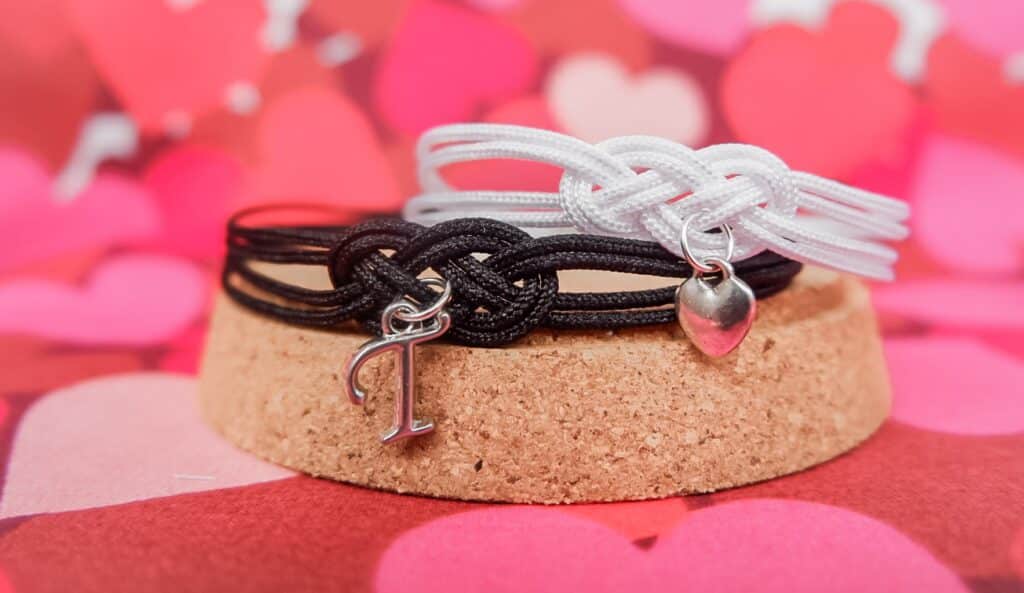
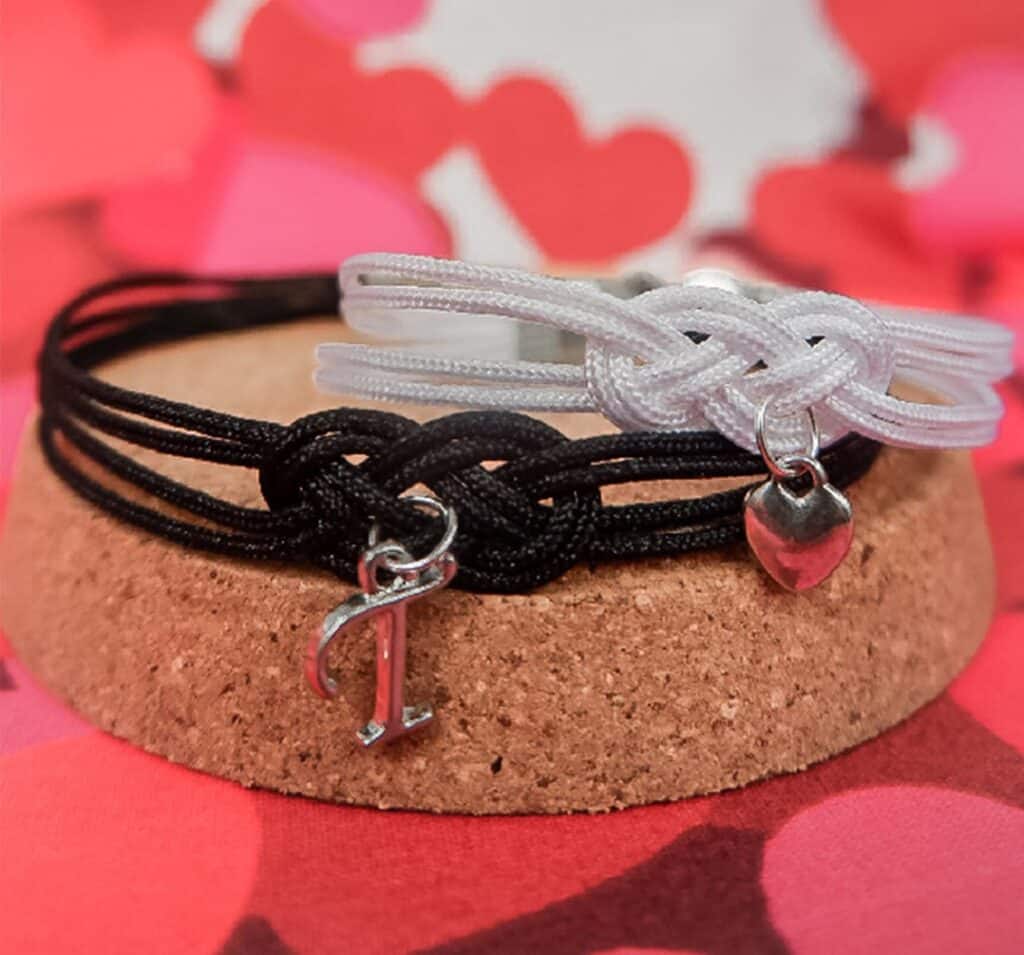
Below you will find step by step instructions on how to create matching bracelets for your loved one(s). You can see a preview of the finished project below.

OVERVIEW
- Estimated Completion Time: 30 minutes
- DIY Experience Required: Low
- Tools Required: Pliers, Scissors
- Materials Required: 2x 1m cord, 2 charms of your choice, 2 sets of clasps
STEP 1)
- Start with your first bracelet. Cut one of the cords in half. You should work with 2 pieces of 50 cm length.
STEP 2)
- Thread one of the strands in the charm.
STEP 3)
- Cross over the part with the charm.
STEP 4)
- Take the other piece folded in two and place it on the loop you just made.
STEP 5)
- Take the ends of the second cord and place it below the ends of the first one.
STEP 6)
- Cross over the loop where the charm is.
STEP 7)
- Continuing with the same end, insert it below the next loop but cross the strings in the loop over.
STEP 8)
- Tighten the infinity loop by pulling the 4 ends simultaneously.
STEP 9)
- Arrange and tighten the strands to your liking and align the charm.
STEP 10)
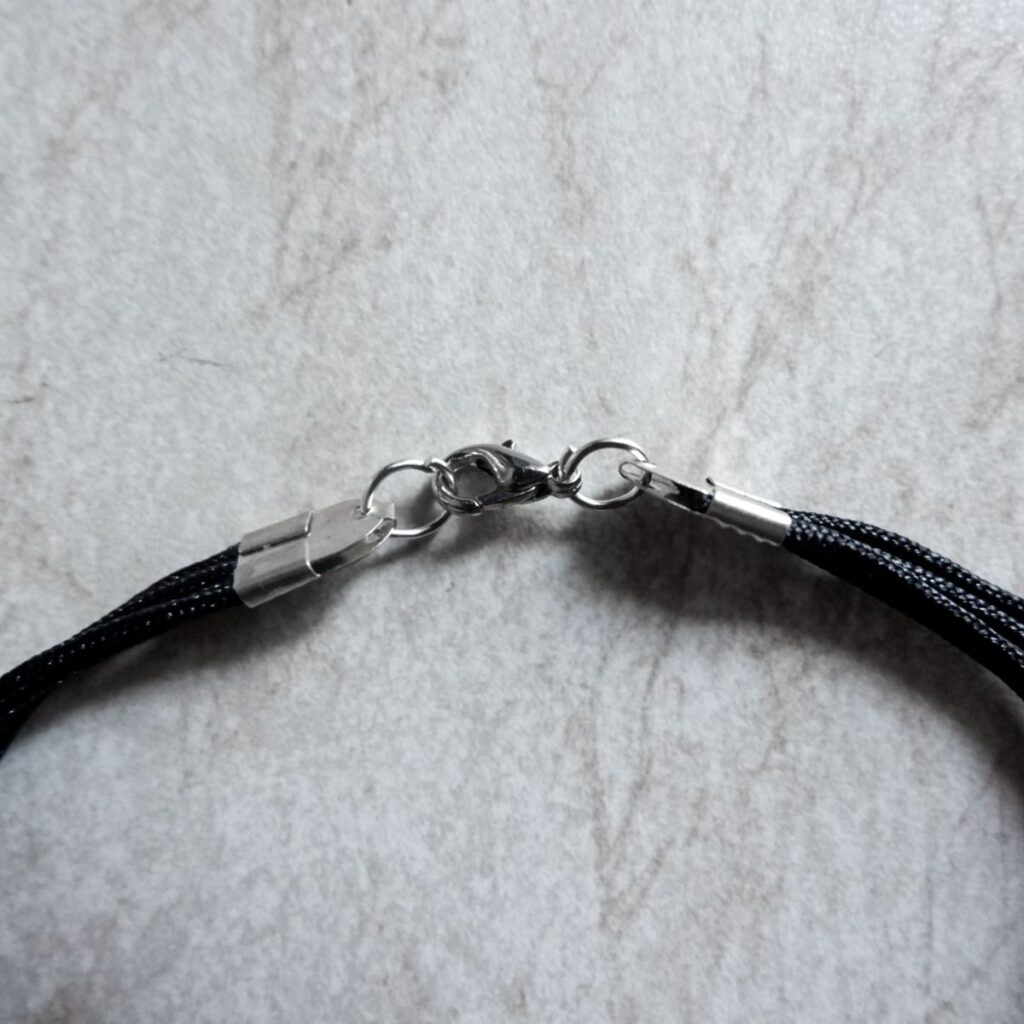
- Use pliers to flatten the clasps, closing them tightly.
STEP 11)
- You should now have a bracelet.
STEP 12)
- Repeat the steps with the other cord to make the matching bracelet.
- You’ll find a printable version of the guide below:


